Bake the Best Chewy M&M Cookies: Soft Centers, Crisp Edges
There's something undeniably comforting and joyous about a classic cookie, and when that cookie is packed with vibrant, candy-coated chocolate M&M's, it transcends mere dessert status to become a nostalgic delight. If you've been on a quest for the ultimate batch of M&M cookies – the kind with irresistibly chewy edges, gloriously soft, melt-in-your-mouth centers, and a generous explosion of M&M's and chocolate chips in every bite – your search ends here. This isn't just another cookie recipe; it's a meticulously perfected guide to achieving the *best* chewy M&M cookies, a recipe so beloved it soared to internet fame and has graced countless family tables. Prepare to fill hearts and bellies with pure, unadulterated cookie happiness, all without the hassle of a long chill time.
What makes these particular M&M cookies stand out from the crowd? It's a combination of simple ingredients, clever techniques, and a proven track record of consistently incredible results. We're talking about cookies that are:
*
Made with everyday pantry staples: No exotic ingredients required.
*
Soft and beautifully chewy: The ideal texture contrast in every bite.
*
Abundantly packed with M&M's and chocolate chips: Because more chocolate is always a good idea.
*
Effortless to assemble: A quick process that gets you to cookie bliss faster.
*
Guaranteed crowd-pleasers: Perfect for parties, holidays, or just a Tuesday treat.
Whether you're looking for a dessert that will earn rave reviews at your next gathering or simply craving a moment of sweet, childhood nostalgia, these M&M cookies deliver. Dive in, and let's unlock the secrets to your new favorite
M&M cookie recipe.
The Craft of Perfect M&M Cookies: Ingredients and Assembly
Creating these phenomenal M&M cookies begins with understanding the role each ingredient plays and following a straightforward assembly process. While the list of ingredients is basic, their quality and proper handling are paramount to achieving that coveted soft-chewy texture.
Our journey to cookie perfection starts by combining softened butter with both granulated and brown sugar. The magic here lies significantly in the brown sugar. Not only does it contribute a rich, molasses-like sweetness, but its inherent moisture content is crucial for imparting that desirable chewiness to the final cookie. Unlike recipes relying solely on granulated sugar, the addition of brown sugar helps keep these cookies wonderfully soft and moist.
Next, we introduce egg and vanilla extract. The egg acts as a binder, contributing structure and richness, while pure vanilla extract infuses the dough with warmth and depth of flavor, elevating the overall taste profile of your homemade M&M cookies.
The dry ingredients follow: all-purpose flour provides the foundation, while a balanced duo of baking powder and baking soda works together to give the cookies their perfect lift and tender crumb. A pinch of salt is essential to balance the sweetness and enhance all the other flavors.
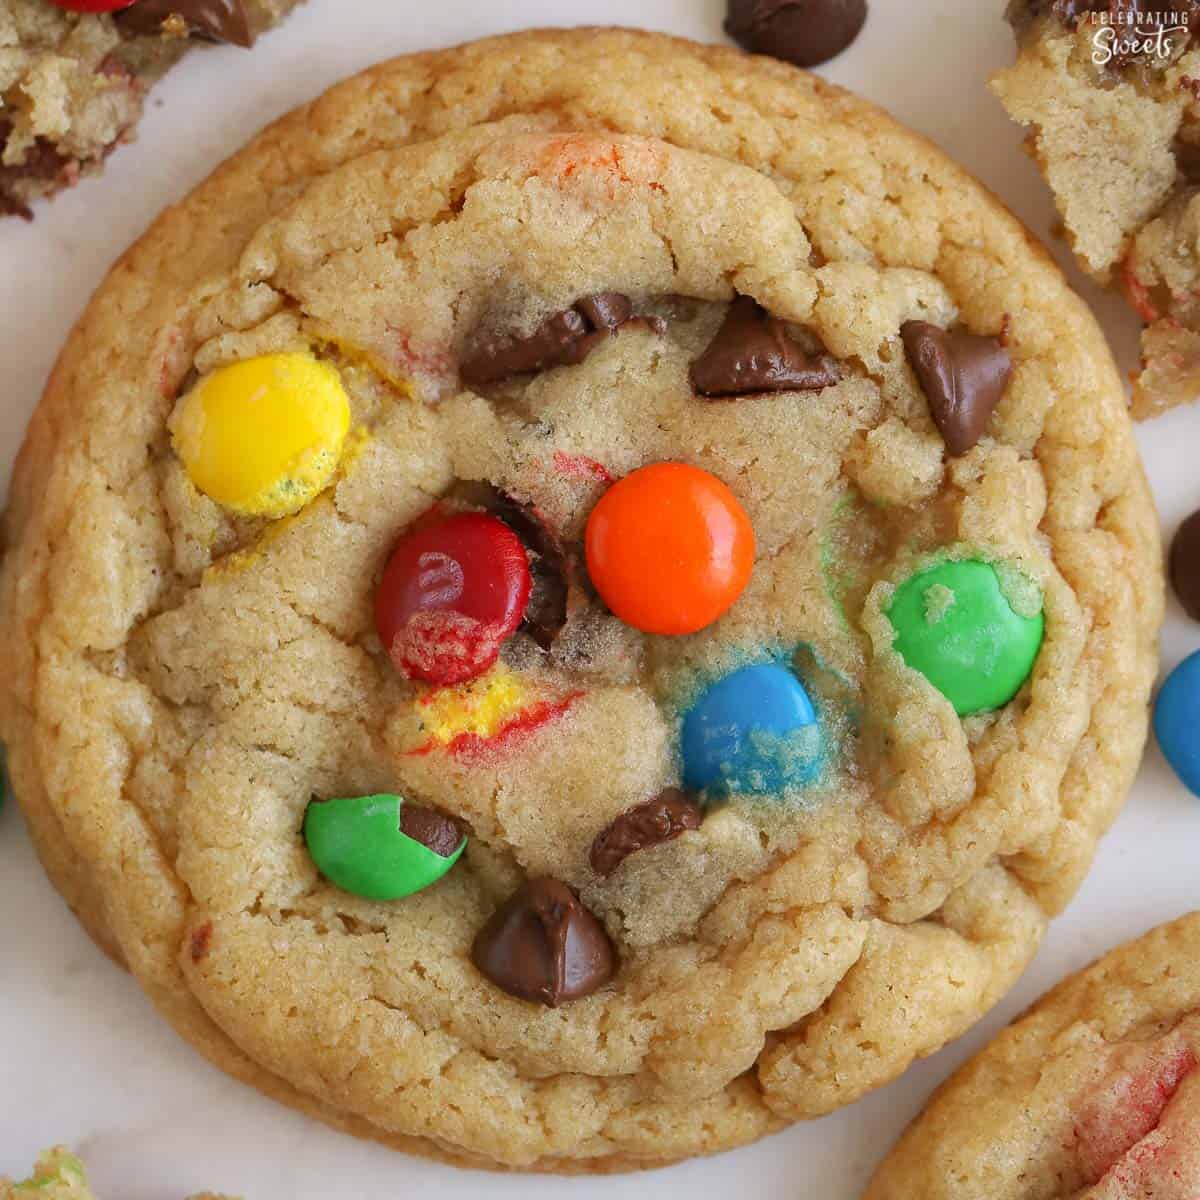
Finally, the stars of the show make their grand entrance: a generous quantity of M&M's and, for an extra layer of chocolatey goodness, semi-sweet chocolate chips. Stirring these into the dough ensures they're distributed throughout, promising a burst of color and chocolate in every bite.
The final step before baking is shaping. Simply scoop the cookie dough into uniform balls. This is also where a clever trick comes in: gently press a few extra M&M's onto the tops of the dough balls. This isn't just for show; it guarantees a visually appealing cookie with vibrant candy colors peeking through once baked and spread. Remember not to press too hard and flatten your dough balls; they should retain their dome shape for optimal baking and texture.
Essential Tips for M&M Cookie Perfection
While the recipe itself is simple, a few expert tips can elevate your M&M cookies from good to absolutely *unforgettable*. Pay close attention to these nuances, and you'll be consistently baking flawless batches.
Mastering Ingredient Temperatures
One of the most critical, yet often overlooked, factors is the temperature of your butter. Your butter should be
softened but still cool to the touch. This means it should give slightly when pressed, but not be greasy or melty. Butter that is too soft or warm will cause your cookies to spread excessively in the oven, leading to thin, crispy discs rather than the desired soft-centered, crisp-edged perfection. Conversely, butter that's too cold won't cream properly with the sugars, resulting in a dense, crumbly dough.
Similarly, ensure your brown sugar is
soft and fresh. Over time, brown sugar can harden, losing its moisture. This moisture is key to the chewy texture of these M&M cookies. If your brown sugar is hard, try softening it before you begin.
Strategic M&M Placement
To achieve that beautiful, vibrant appearance where M&M's are proudly displayed on the surface of your cookies, follow this two-step approach: mix a good portion of the M&M's directly into the batter, then, just before baking, gently press additional M&M's and chocolate chips onto the tops of the scooped dough balls. As the cookies bake and naturally spread, these surface candies will beautifully distribute, creating that eye-catching pop of color. The key here is *gentle* pressure; you want to adhere the candies without flattening the dough ball itself.
The Golden Rule: Do NOT Over-Bake!
This is perhaps the single most important piece of advice for achieving cookies with crisp edges and soft, gooey centers. For our beloved chewy M&M cookies, you must resist the urge to wait until they look completely "done." Remove the baking sheets from the oven when the edges are visibly set and lightly golden, but the centers still appear
slightly underbaked and glossy.
Cookies continue to cook from residual heat after being removed from the oven, a phenomenon known as "carry-over baking." Allowing them to cool on the hot baking sheet for 5-10 minutes before transferring them to a wire rack will complete the baking process perfectly, resulting in those dreamy soft centers while the edges firm up to a delightful crispness. Over-baking even by a minute or two can turn your soft, chewy treasures into dry, hard disappointments.
Customizing Your M&M Cookies: Thick, Thin, & Themed Delights
One of the joys of this adaptable recipe is how easily you can customize your M&M cookies to suit your preferences or a special occasion. Whether you like them super thick and chewy or a bit thinner with more spread, a few simple adjustments make all the difference. For more in-depth guidance on achieving various cookie textures, check out our comprehensive article on
Secrets to Perfect M&M Cookies: Thick, Thin, & Crowd-Pleasing.
Achieving Thicker Cookies
If you crave a more substantial, bakery-style cookie with an even chewier interior, the secret lies in chilling the dough. After scooping your dough into generously sized balls (a larger scoop, perhaps 2-3 tablespoons per cookie), place them on a baking sheet lined with parchment paper and chill them in the refrigerator for 30 minutes to an hour before baking. This chilling process solidifies the butter in the dough, which slows down its melting time in the oven. The result? Less spread, and thicker, chewier cookies that hold their shape beautifully.
For Thinner, Crisper Edges
For those who prefer a slightly thinner cookie with a more pronounced crisp edge, simply bake the cookies right after assembling the dough. Use a slightly smaller portion of dough, about 1.5 tablespoons per cookie, and skip the chilling step. The warmer dough will spread a bit more, giving you that delightful thinner profile. Ensure your butter is perfectly softened (but still cool) to prevent excessive spreading.
Themed M&M Cookies for Every Occasion
M&M's come in a dazzling array of colors, making these cookies incredibly versatile for any holiday or party theme.
*
Holidays: Swap regular M&M's for red and green at Christmas, pastel shades for Easter, orange and black for Halloween, or red, white, and blue for patriotic celebrations.
*
Parties: Use M&M's in your favorite sports team's colors, school colors, or to match a birthday party theme.
*
Flavor Variations: Don't limit yourself to classic M&M's! Experiment with peanut M&M's, peanut butter M&M's, or even seasonal M&M flavors if you can find them. You can also mix in white chocolate chips, butterscotch chips, or chopped nuts for additional texture and flavor dimensions.
These cookies are inherently kid-approved, and equally "feel-like-a-kid-again-approved" for adults, making them a universal hit no matter the customization.
Conclusion
Baking the perfect batch of chewy M&M cookies with soft centers and crisp edges is a truly rewarding experience, one that brings smiles and a burst of vibrant color to any occasion. By paying attention to simple details like butter temperature, the freshness of your brown sugar, and most importantly, avoiding over-baking, you can consistently achieve cookie nirvana. Whether you prefer them thick or thin, classic or themed, this versatile and incredibly delicious recipe is sure to become a cherished favorite in your baking repertoire. So gather your ingredients, follow these tips, and get ready to enjoy the ultimate homemade M&M cookie – a treat that embodies comfort, joy, and irresistible deliciousness in every single bite. Happy baking!